基于Anaconda如何安装ComfyUI
 常见问题
常见问题  admin
admin  发布时间:2024-03-28
  浏览:907 次
 基于conda安装ComfyUI
并且基于同一个虚拟环境(SDW)安装。
然后可以直接参考github中ComfyUI Readme的方法安装。
Manual Install (Windows, Linux)
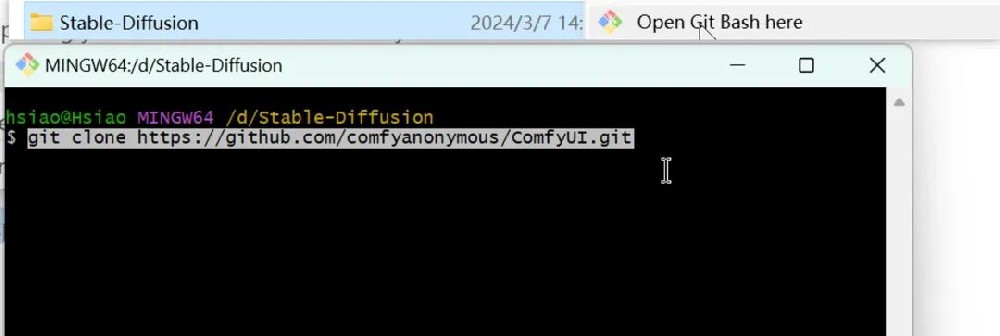
Git clone this repo.
Put your SD checkpoints (the huge ckpt/safetensors files) in: models/checkpoints
Put your VAE in: models/vae
NVIDIA
Nvidia users should install stable pytorch using this command:
pip install torch torchvision torchaudio --extra-index-url https://download.pytorch.org/whl/cu121
This is the command to install pytorch nightly instead which might have performance improvements:
pip install --pre torch torchvision torchaudio --index-url https://download.pytorch.org/whl/nightly/cu121
Troubleshooting
If you get the "Torch not compiled with CUDA enabled" error, uninstall torch with:
pip uninstall torch
And install it again with the command above.
Dependencies
Install the dependencies by opening your terminal inside the ComfyUI folder and:
pip install -r requirements.txt
After this you should have everything installed and can proceed to running ComfyUI.
直接选择一个路径文件夹,鼠标右键下拉选中Git Bash,
输入或者复制:git clone https://github.com/comfyanonymous/ComfyUI.git

然后启动Anaconda Prompt 激活SDW 虚拟环境,安装Requirements,

等待安装完成,可以启动comfyUI了,以后就可以按照如下方式启动:

当看到这个链接,可以Ctrl+左键在浏览器中打开了,或者复制粘贴也可以。


 售前咨询专员