如何通过Anaconda安装Kohya_ss
 常见问题
常见问题  admin
admin  发布时间:2024-03-28
  浏览:351 次
 进入Anaconda Prompt,创建基于Python 3.10.11的一个新的虚拟环境

安装CUDA 11.8 toolkit

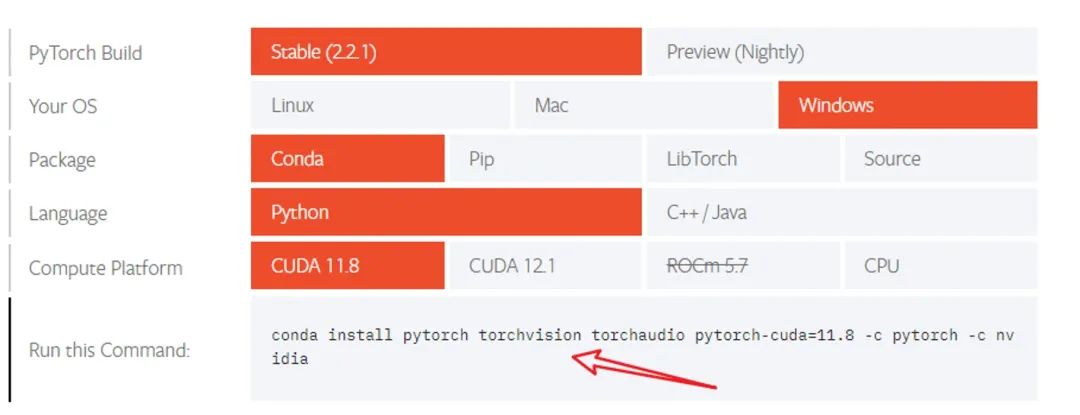
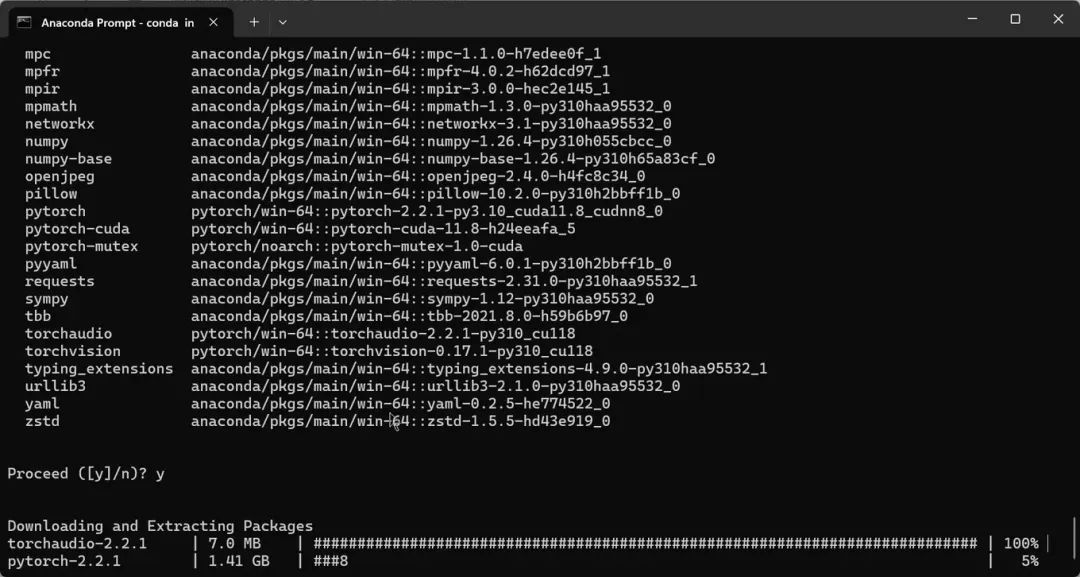
conda install pytorch torchvision torchaudio pytorch-cuda=11.8 -c pytorch -c nvidia

ALT

安装git
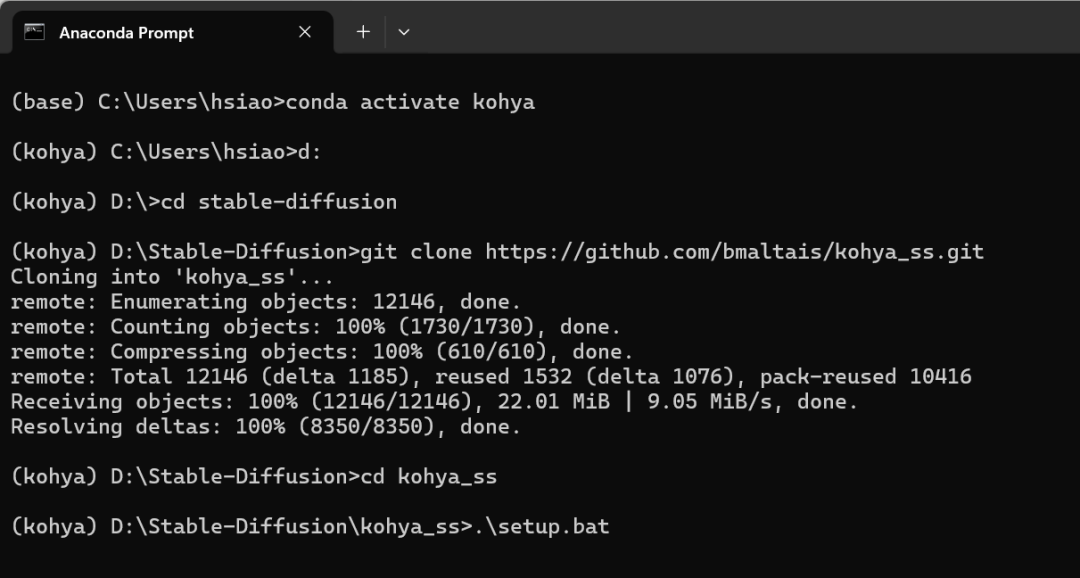
激活虚拟环境

克隆kohya_ss源码

git clone https://github.com/bmaltais/kohya_ss.git
进入项目根目录
cd kohya_ss
安装相关库

.setup.bat
依次运行setup.bat的选项,
到第五步的“Configure Accelerate”, 可以一直选择默认,除非你了解你的硬件需求。
1.This machine
AWS (Amazon SageMaker)
点击回车
2.No distributed training
multi-CPU
multi-GPU
TPU
多张显卡就根据情况选择,没有就按下回车
3.Do you want to run your training on CPU only(你只使用GPU训练吗) (even if a GPU / Apple Silicon device is available)? [yes/NO]:no
4.Do you wish to optimize your script with torch dynamo?[yes/NO]:no
5.Do you want to use DeepSpeed? [yes/NO]: no
6.What GPU(s) (by id) should be used for training on this machine as a comma-seperated list? [all]: all
7.Please select a choice using the arrow or number keys, and selecting with enter,no
no
fp16
bf16
fp8
可选步骤:CUDNN 8.9.6.50
以下步骤是可选的,但对于拥有NVIDIA 30X0/40X0 GPU的用户将会提高学习速度。这些步骤可以启用更大的训练批次大小和更快的训练速度。
运行 .setup.bat,并选择 2.(可选)安装 cudnn 文件(如果您想使用最新支持的 cudnn 版本)。
当看到链接,表示启动成功,Ctrl+左键或者复制打开链接,开启Kohya_ss了。


 售前咨询专员